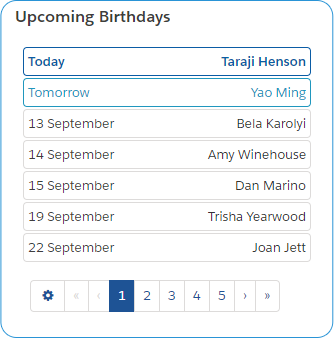
Birthday Reminders Contact birthdays in the Salesforce UI.
Start here!
Want to see your Contacts that have an upcoming birthday? With just the tiniest bit of setup you can be up and running in a few minutes. Try it out.
Step through the Installer
Sign into a Salesforce Org
Sign in to the Salesforce org where you would like the application installed.
Select Profile Level Security
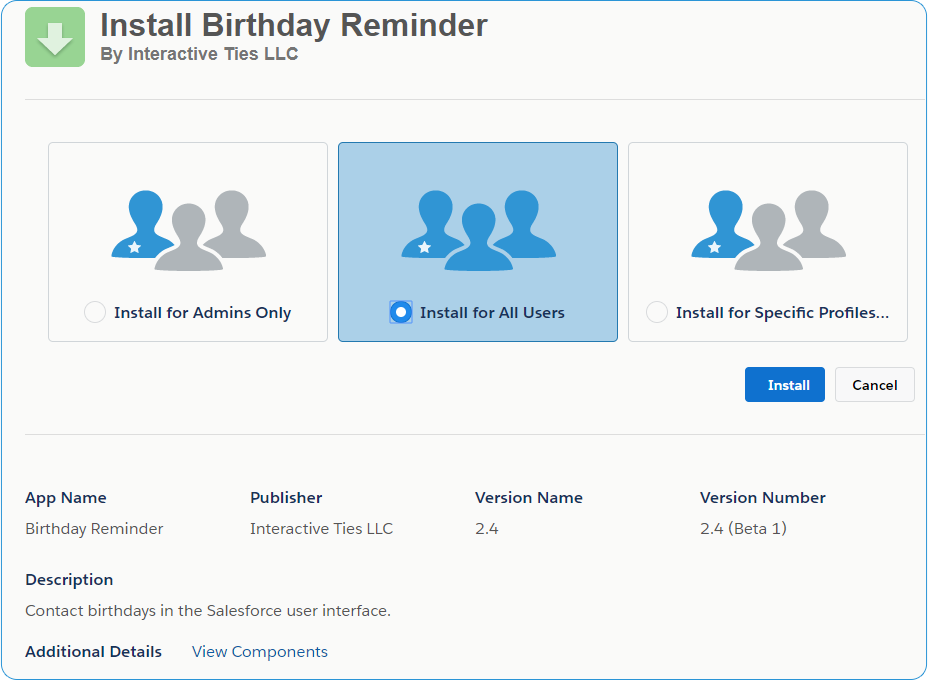
The first screen during installation is the profile level security. We recommend selecting the option reading Install for All Users then clicking the Install button.
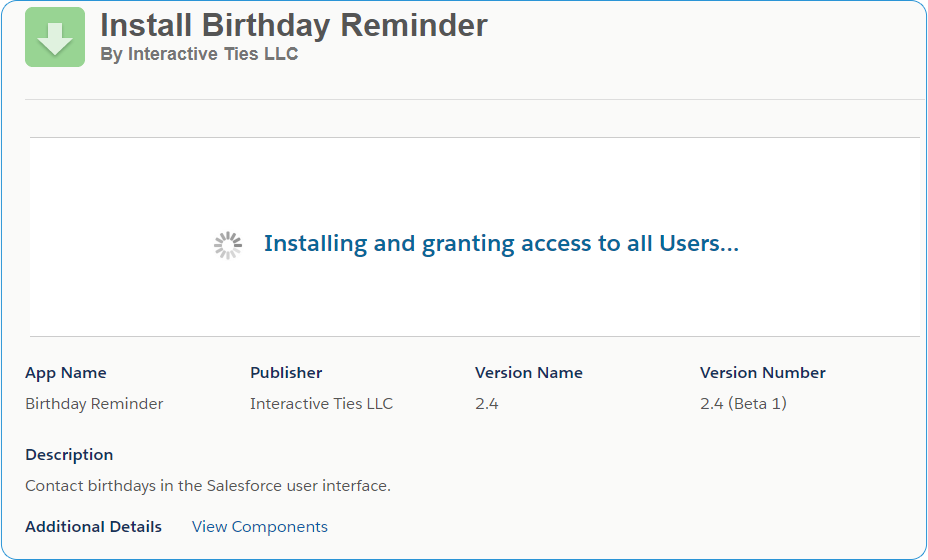
The application may display a screen reading "Installing and granting access to all Users..."
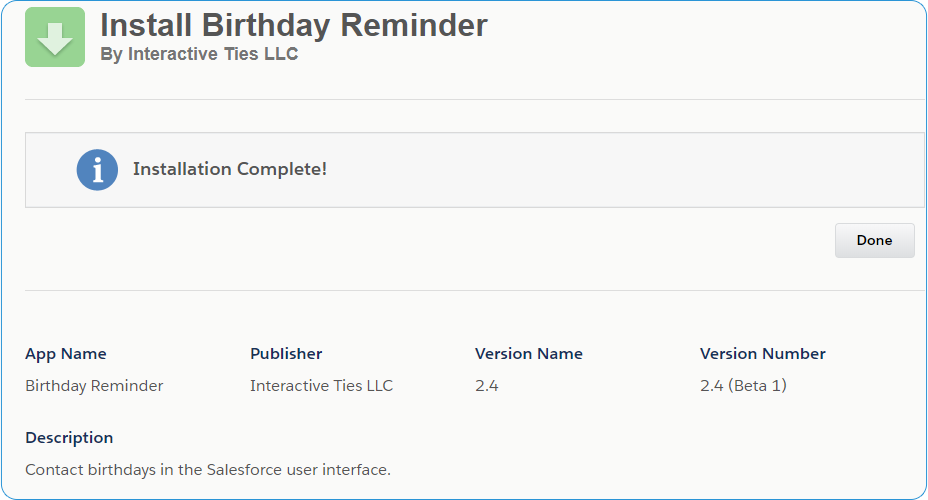
After the installation is finished you will receive a message similar to "Installation Complete!" You may click the button reading "Done," which will redirect you to the Installed Packages page within Salesforce Setup.
Set Application Default Values
The application comes with some default settings pre-built into it. However, we created a method by which you can change these default settings to better meet the needs of your Users.
Existing Defaults
| Setting | Definition | Default |
|---|---|---|
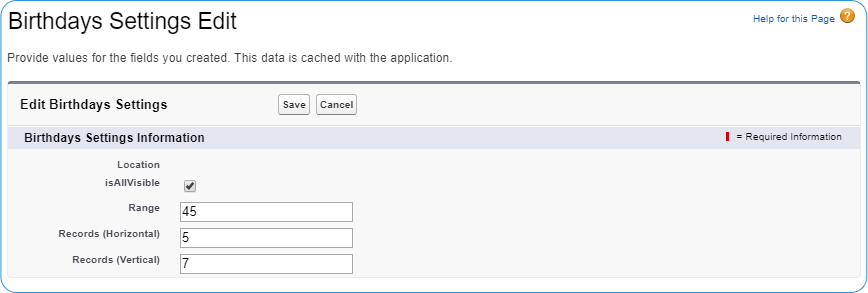
| All or My Contacts | The designation for whether the application should display "All Contacts" or "My Contacts." Stored in the custom setting as isAllVisible. | My Contacts |
| Range | The number of days in advance of the birthdate by which the record should begin to display in the app. | 15 |
| Records (Horizontal) | The number of Contacts to display on each page of the horizontal widget used in the Lightning interface. | 5 |
| Records (Vertical) | The number of Contacts to display on each page of the vertical widget used in the Lightning interface. | 7 |
Edit the Default Settings
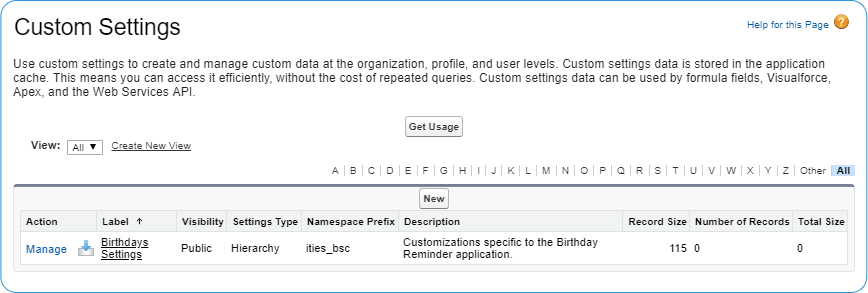
Navigate to the custom settings object within Salesforce setup. Enter "custom settings" in the Quick Find form or navigate Setup > Custom Code > Custom Settings.
Look for the custom setting with the Namespace Prefix of ities_bsc. Click the "Manage" link located on the left-hand side of the row.
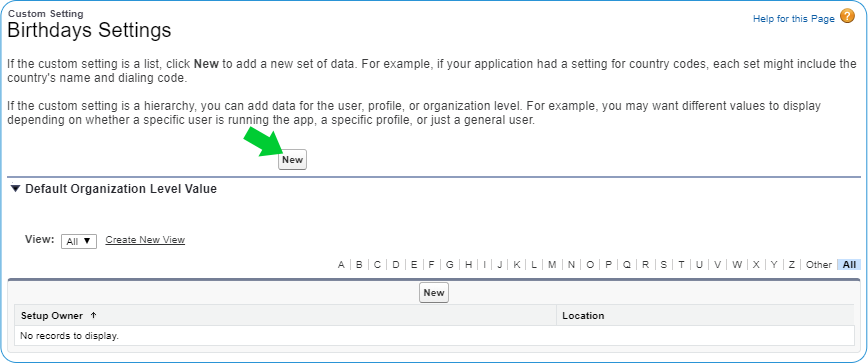
On the following page there will be a section for the "Default Organization Level Value" and a section for other hierarchy specific settings. Click the "New" button near the "Default Organization Level Value" section.
Edit any of the settings you wish. Fields left blank will default to the settings defined in the table above.
Configure Lightning Page Layouts
In order for the application to be seen by the Users in your org you will need to add a widget to your Lightning page layouts. This will have to be done on all pages where you wish the application to be seen. Therefore, these steps may need to be repeated numerous times.
Add Visualforce widget to the page layout(s)
Navigate to the page within Lightning experience where you would like to add the Birthday Reminder application widget.
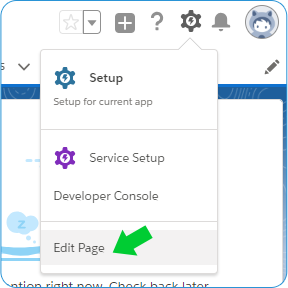
Click the gear icon located in the upper right-hand corner of the page and select "Edit Page" from the list.
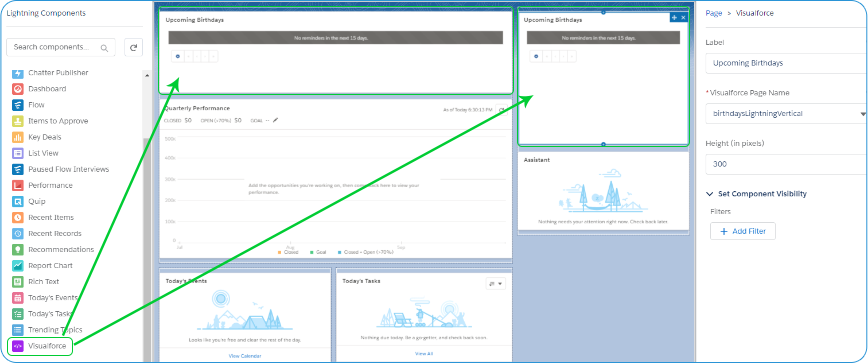
On the left-hand side of the Lightning App Builder you will see list of components that may be used in the page layout. Drag the "Visualforce" component from the list to a section of the page layout editor on the right-hand side of the screen.
Application Widget Options
The application has two Lightning component widgets for use in a given page layout. One that displays a vertical list of birthdays and another that displays the list horizontally.
Vertical Lightning Widget
The vertical widget is a Visualforce page with the name of "birthdaysLightningVertical." It was designed for use in the right-hand side of the Lightning user interface or narrower sections of any page layout.
Horizontal Lightning Widget
The horizontal widget is a Visualforce page with the name of "birthdaysLightningHorizontal." It was designed for use in the left-hand side of the Lightning user interface or wider sections of any page layout.
Original Design Configuration
The following configuration options are meant as a guide based upon the original design of each widget. Feel free to modify these settings as you see fit.
| Widget | Label | Visualforce | Height | Filters |
|---|---|---|---|---|
| Vertical | Upcoming Birthdays | birthdaysLightningVertical | 300 | None |
| Horizontal | Upcoming Birthdays | birthdaysLightningHorizontal | 180 | None |
Configure Classic Edition Page Layouts
Still using the Classic edition of Salesforce? Don't worry we don't mind. These are the instructions for Organizations that have not yet migrated to Lightning.
Add two new custom fields to User page layout(s)
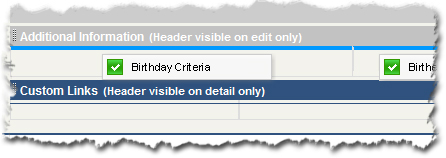
Add the "Birthday Criteria" & "Birthday Range" fields to the User page layout(s).
The User Page Layout is modified by going to: Setup > Customize > Users > Page Layouts
The page will display all the Page Layouts for User records - click the "Edit" link located on the left-hand side of the User Page Layout name.
Select the "Birthday Criteria" custom field from the box at the top of the page reading "User Layout."
Drag the field selection to the Additional Information page layout section towards the bottom of the screen.
Select the "Birthday Range" custom field from the box at the top of the page reading "User Layout."
Drag the field selection to the Additional Information page layout section towards the bottom of the screen.
Click the "Save" button at the top of the page.
Add the Birthdays component to your Home page layout(s)
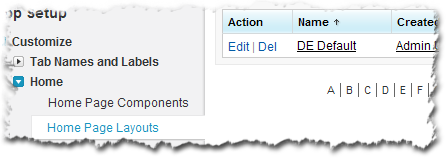
The Home Page Layout is modified by going to: Setup > Customize > Home > Home Page Layouts
The page will display all the Page Layouts for the Home tab - click the "Edit" link located on the left-hand side of the Home Page Layout name.
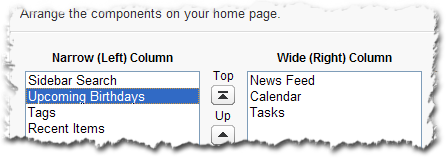
Check the box next to "Birthdays" under the section of the page reading "Select Narrow Components to Show." Click "Next". Use the selectors to move the Upcoming Birthdays component to the top of the page or into whatever order makes sense for the page layout.
Click the "Save" button.
Enable Custom Sidebar Component on All Pages (Optional)
Update the User Interface Settings
The User Interface can be updated by going to: Setup > Customize > User Interface
The page will display all the User Interface functionality for the org.
Check the box next to "Show Custom Sidebar Components on All Pages" under the "Sidebar" section.
Click the "Save" button.

